Why choose Epoxy flooring home and businesses
The Ultimate Guide to Epoxy Flooring Installation for Homes and Businesses
Epoxy flooring and resin flooring installation has grown in popularity as a durable, versatile, and visually appealing option for residential, commercial, and industrial spaces. Its seamless finish, resistance to wear and tear, and endless customization possibilities make it an ideal choice for anyone looking to upgrade their flooring. If you’re considering epoxy flooring, understanding the installation process is critical. In this guide, we’ll walk you through everything you need to know about epoxy flooring installation, from preparation to post-installation care.
What is Epoxy Flooring?
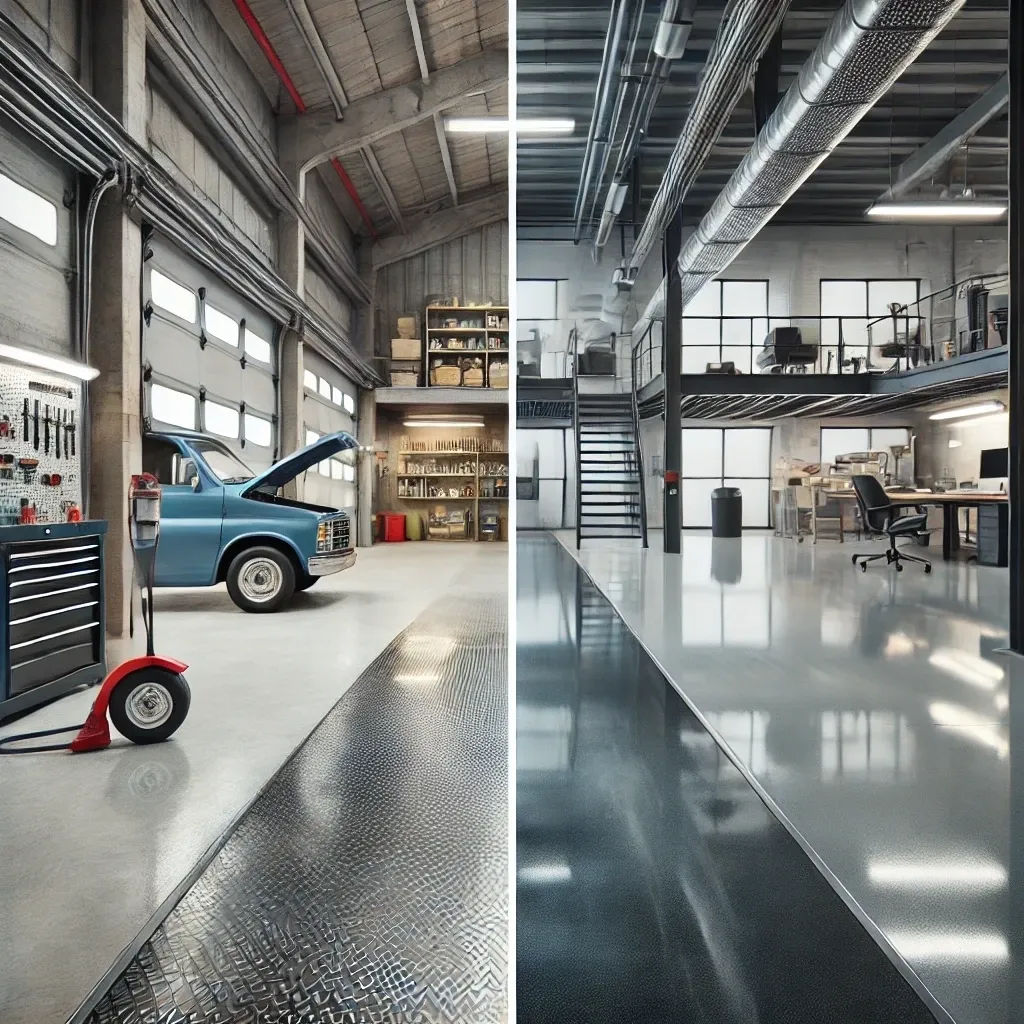
Epoxy flooring is a surface made of a combination of resin and hardener that, when mixed, forms a rigid plastic material. This material bonds to the substrate beneath it, creating a strong, seamless, and durable surface. Epoxy floors are used in various applications, including garages, basements, retail spaces, warehouses, and showrooms, thanks to their versatility and resilience.
Why Choose Epoxy Flooring?
Before diving into the installation process, it’s worth understanding why epoxy flooring stands out as an exceptional choice:
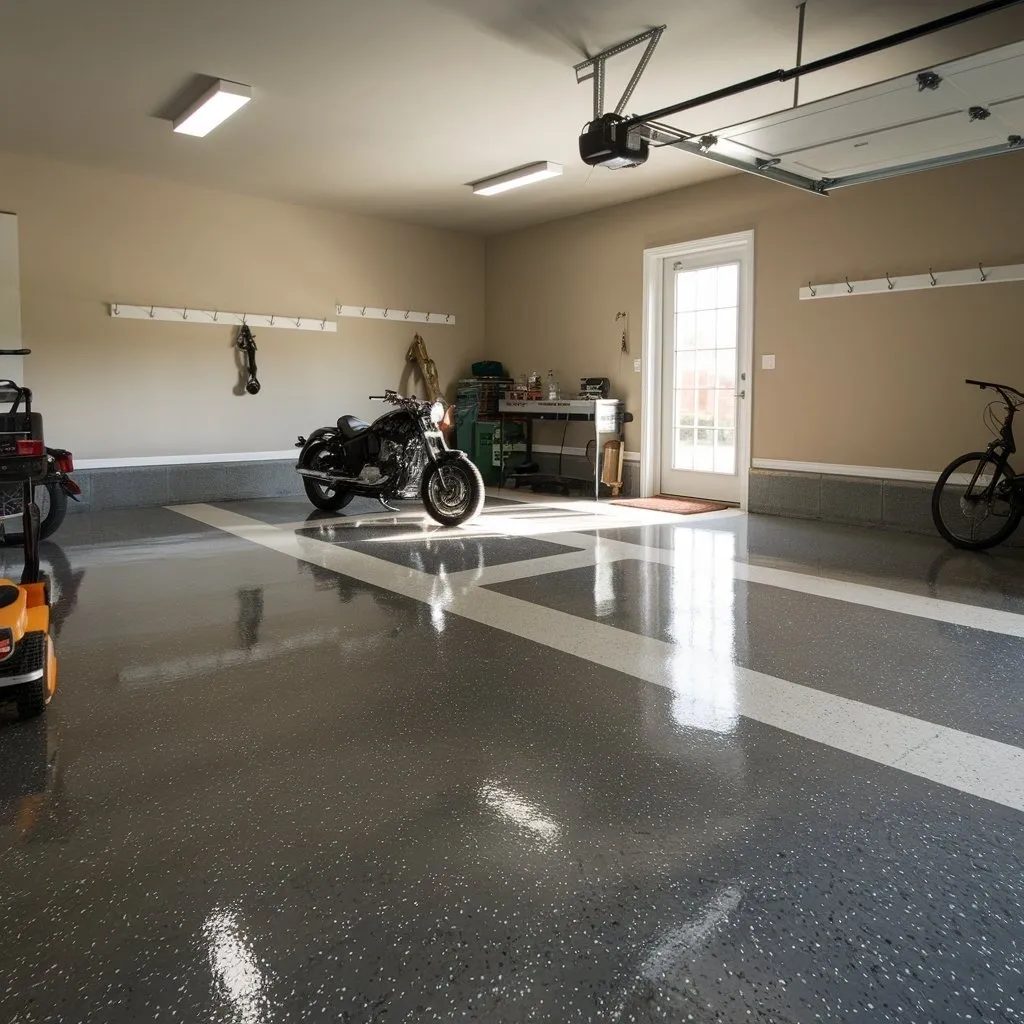
- Durability: Resistant to cracks, stains, and heavy impact, epoxy floors are built to last for years.
- Aesthetic Appeal: Available in a variety of colors, patterns, and finishes, epoxy can be customized to match any space.
- Low Maintenance: Cleaning is as simple as mopping or wiping the surface.
- Chemical Resistance: Ideal for spaces like garages and workshops where spills are common.
- Eco-Friendly Options: Many epoxy products are now low-VOC (volatile organic compounds), making them a sustainable option.
Tools and Materials Needed for Epoxy Flooring Installation
Proper installation requires the right tools and materials. Here’s what you’ll need:
- Epoxy Resin and Hardener: Choose high-quality materials suited to your specific application.
- Concrete Cleaner: For surface preparation.
- Diamond Grinder or Shot Blaster: To remove old coatings and create a porous surface.
- Trowels and Squeegees: For spreading the epoxy.
- Rollers: To ensure even application.
- Primer: Ensures better adhesion to the substrate.
- Topcoat: Provides added protection and enhances the finish.
- Personal Protective Equipment (PPE): Gloves, goggles, and a respirator are essential.
Step-by-Step Epoxy Flooring Installation
1. Evaluate and Prepare the Surface
The success of your epoxy floor depends heavily on how well the substrate is prepared. Follow these steps:
- Inspect the Surface: Ensure the concrete is free of cracks, moisture, and oil stains. Any imperfections must be addressed before proceeding.
- Clean Thoroughly: Use a concrete cleaner to remove dirt, grease, or other contaminants.
- Repair Damages: Fill cracks and holes with a patching compound and allow it to dry completely.
- Grind or Blast the Surface: Use a diamond grinder or shot blaster to create a rough, porous surface that allows the epoxy to adhere better.
2. Apply the Primer
A primer acts as the base layer, ensuring strong adhesion between the substrate and the epoxy:
- Mix the primer as per the manufacturer’s instructions.
- Use a roller to apply a thin, even coat of primer.
- Allow the primer to cure for the recommended time, typically 6-8 hours.
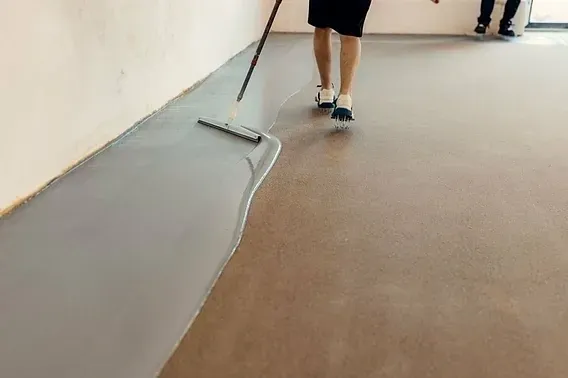
3. Mix and Apply the Epoxy
- Mix Components: Combine the resin and hardener in the correct proportions. Use a mechanical mixer for a consistent blend.
- Apply the First Coat: Use a squeegee or roller to spread the epoxy evenly across the surface. Start at the farthest point and work your way out.
- Add Decorative Elements: If you’re incorporating flakes, metallic pigments, or other decorative touches, do so while the epoxy is still wet.
4. Apply Additional Coats
For enhanced durability and a polished finish, multiple coats may be required:
- Allow the first coat to cure completely, usually 12-24 hours.
- Sand lightly between coats to ensure better adhesion.
- Apply subsequent layers as needed.
5. Seal with a Topcoat
A topcoat provides additional protection and ensures a long-lasting finish:
- Mix and apply the topcoat according to manufacturer guidelines.
- Use a roller to achieve a uniform layer.
- Allow the topcoat to cure completely before using the space.
Tips for a Successful Epoxy Flooring Installation
- Control Temperature and Humidity: Epoxy cures best in controlled environments. High humidity or extreme temperatures can affect curing times and overall finish.
- Work Quickly: Epoxy has a limited pot life, meaning you’ll need to apply it within a specific time frame after mixing.
- Ensure Proper Ventilation: While many epoxies are low-VOC, proper airflow is essential during application.
- Test a Small Area First: If you’re unsure about color or finish, test a small section before committing to the entire floor.
- Follow Manufacturer’s Instructions: Always adhere to the guidelines provided for mixing, application, and curing.
Post-Installation Care
Proper care and maintenance will extend the life of your epoxy floor:
- Initial Curing: Avoid heavy traffic or placing furniture on the floor for at least 7 days after installation.
- Regular Cleaning: Sweep and mop as needed to remove dirt and debris.
- Avoid Harsh Chemicals: Use pH-neutral cleaners to prevent damage to the surface.
- Periodic Maintenance: Depending on wear and tear, you may need to apply a new topcoat every 5-10 years.
Common Mistakes to Avoid
- Skipping Surface Preparation: Failing to clean and prep the surface properly can lead to poor adhesion and peeling.
- Incorrect Mixing: Not mixing the resin and hardener in the correct ratio will compromise the strength and durability of the floor.
- Rushing the Process: Each layer needs sufficient time to cure for the best results.
- Ignoring Safety Precautions: Always wear PPE and work in a well-ventilated area.
Why Choose SimpliSurface Solutions for Your Epoxy Flooring Needs?
t SimpliSurface Solutions, we specialize in delivering top-quality epoxy flooring for both residential and commercial applications. Our team of experts ensures every installation is done with precision and care, providing you with a floor that is as durable as it is beautiful. Whether you’re upgrading a garage, outfitting a showroom, or transforming a warehouse, we have the experience and tools to bring your vision to life.
Contact us today for a consultation and let’s get started on your epoxy flooring project!